


Document Actions
gvSIG-Desktop 1.10. User Manual
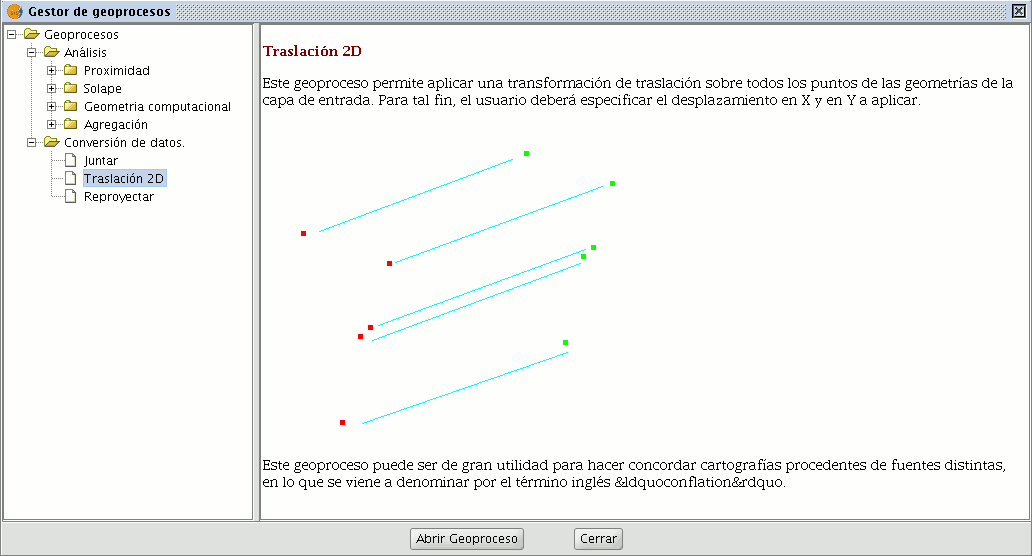
2D Translation
Introduction
This geoprocess allows a translation transformation to be applied to all the points, lines and polygons of the geometries in the input layer. The geoprocess can be applied to all types of vector layers (shp, dgn, dxf…). To do so, the movement on X and Y must be specified.
This geoprocess is extremely useful when combining cartographies which come from different sources, a process which is referred to as conflation. Bear in mind that although translations can be carried out on all types of vector layers (shp, dgn, dxf, dwg…), the resulting output layer will always be a shape file. In other words, the input layer can be a shp, dxf or dgn file, but when translation is applied to these layers, the result will be one or various different output layers which are always shape files.
When a translation is carried out in which the input layer is a vector layer which is not a shape file, the result of the translation will be three layers in SHP format (one line layer, one point layer and one polygon layer).
If, for example, the input layer to which the translation is applied contains only points and lines, the polygon .shp file will be created but it will be empty.
NB. At the end of this section there is a table giving details of the relationship between the type of input file and the resulting output layer.
Translating a vector layer
Firstly, load a vector layer in gvSIG and then click on the geoprocessing wizard in the tool bar.

Select the option “2D Translation” from the “Data Conversion” folder. Click on the “Open Geoprocess” button and the geoprocess data input window opens. For the input layer, select the vector layer (dgn, dxf, dwg, shp…) you wish to translate and introduce the values corresponding to X and Y. Select an output layer and click on “Ok”.
The following image shows the result of applying the translation process.

Relationship between the type of layer before and after translation.
| Input cover | Output cover/s | |
|---|---|---|
| Point Shp file | Point Shp file | |
| Multipoint Shp file | Multipoint Shp file | |
| Line Shp file | Line Shp file | |
| Polygon Shp file | Polygon Shp file | |
| Dxf (points, lines, polygons) | Point Shp file Line Shp file Polygon Shp file |
|
| Dgn (points, lines, polygons) | Point Shp file Line Shp file Polygon Shp file |
|
| Dwg (points, lines, polygons) | Point Shp file Line Shp file Polygon Shp file |
|


